

In a world where personal expression is highly valued, the do-it-yourself (DIY) ethos has become a powerful tool for individuals to explore their creativity. One such avenue is the “Do It Yourself Screen Printing Kit,” a versatile and accessible solution that empowers enthusiasts to bring their artistic visions to life. In this comprehensive guide, we will delve into the fascinating world of DIY screen printing, exploring the kit’s components, step-by-step processes, creative possibilities, troubleshooting tips, and the rewarding journey of turning ideas into tangible, screen-printed masterpieces.
I. Introduction to DIY Screen Printing
A. Definition and Purpose
DIY screen printing involves transferring designs onto various surfaces using a stencil and ink. The “Do It Yourself Screen Printing Kit” provides beginners with the essential tools to embark on this exciting journey of self-expression.
B. Kit Components
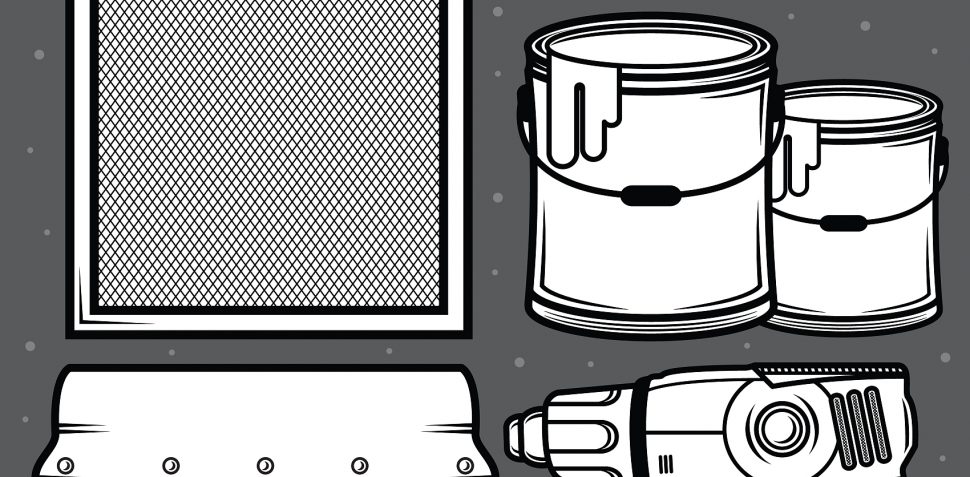
Screen Frame: The foundation for your prints, typically made of wood or aluminum.
Mesh Screen: A fine mesh stretched across the frame, providing a surface for the stencil.
Squeegee: A tool to evenly push ink through the mesh and onto the printing surface.
Stencil Material: Often in the form of emulsion sheets or pre-coated screens for creating designs.
Ink: Specially formulated for screen printing, available in various colors.
Palette Knife: Useful for mixing and applying inks.
Blank Substrates: T-shirts, tote bags, paper, and other surfaces for printing.
II. Getting Started: Setting Up Your DIY Screen Printing Space
A. Workspace Preparation
Ventilation: Ensure a well-ventilated area to disperse fumes from chemicals.
Surface Protection: Cover surfaces to prevent ink stains and facilitate easy cleanup.
Lighting: Optimal lighting is crucial for accurate stencil creation.
B. Equipment Assembly
Screen Frame Setup: Secure the mesh screen onto the frame tightly.
Stencil Application: Apply the stencil material onto the mesh using the guidelines provided.
C. Ink Preparation
Color Selection: Choose ink colors based on your design and substrate.
Ink Mixing: Achieve custom shades by blending primary colors with a palette knife.
III. The DIY Screen Printing Process
A. Design Creation
Digital vs. Hand-drawn: Explore design creation on a computer or embrace hand-drawn elements.
Stencil Transfer: Transfer the design onto the stencil material using light exposure or drawing techniques.
B. Screen Exposure and Development
Emulsion Exposure: Place the design on the screen and expose it to light.
Development: Rinse the screen to reveal the stencil, ready for printing.
C. Printing Techniques
Ink Application: Apply ink to the screen and use the squeegee to distribute it evenly.
Printing Surface: Position the substrate under the screen and press the ink through using the squeegee.
D. Curing Prints
Drying: Allow prints to air dry or use a heat source for quicker curing.
Fixative Application: Some prints may require a fixative to set the ink permanently.
IV. Exploring Creative Possibilities
A. Textile Printing
Custom Apparel: Personalize T-shirts, hoodies, and more with your unique designs.
Fabric Decor: Create custom fabric pieces for sewing projects.
B. Paper Printing
Art Prints: Produce limited edition prints for framing and display.
Greeting Cards: Craft personalized cards for special occasions.
C. Surface Experimentation
Wood and Metal: Print on unconventional surfaces for a unique touch.
Home Decor: Design custom pieces for home decoration.
V. Troubleshooting and Tips
A. Common Issues
Incomplete Prints: Addressing issues with ink coverage.
Stencil Blurring: Preventing blurred lines in designs.
B. Tips for Success
Precision in Stencil Creation: Achieving sharp, clean stencils for accurate prints.
Ink Consistency: Ensuring the right ink viscosity for smooth application.
VI. Embracing the Journey of DIY Screen Printing
A. Learning and Growth
Experimentation: Don’t be afraid to try new techniques and designs.
Community Engagement: Join online forums and local groups to share experiences and learn from others.
B. Showcasing Your Work
Portfolio Building: Document and showcase your evolving portfolio.
Social Media Sharing: Connect with a wider audience by sharing your creations on social media platforms.
In conclusion, the “Do It Yourself Screen Printing Kit” opens the door to a world of creativity and self-expression. From setting up your workspace to troubleshooting common issues and embracing the learning journey, this comprehensive guide equips you with the knowledge and inspiration needed to turn your artistic visions into stunning, handcrafted prints. So, grab your kit, unleash your creativity, and let the magic of DIY screen printing begin!